

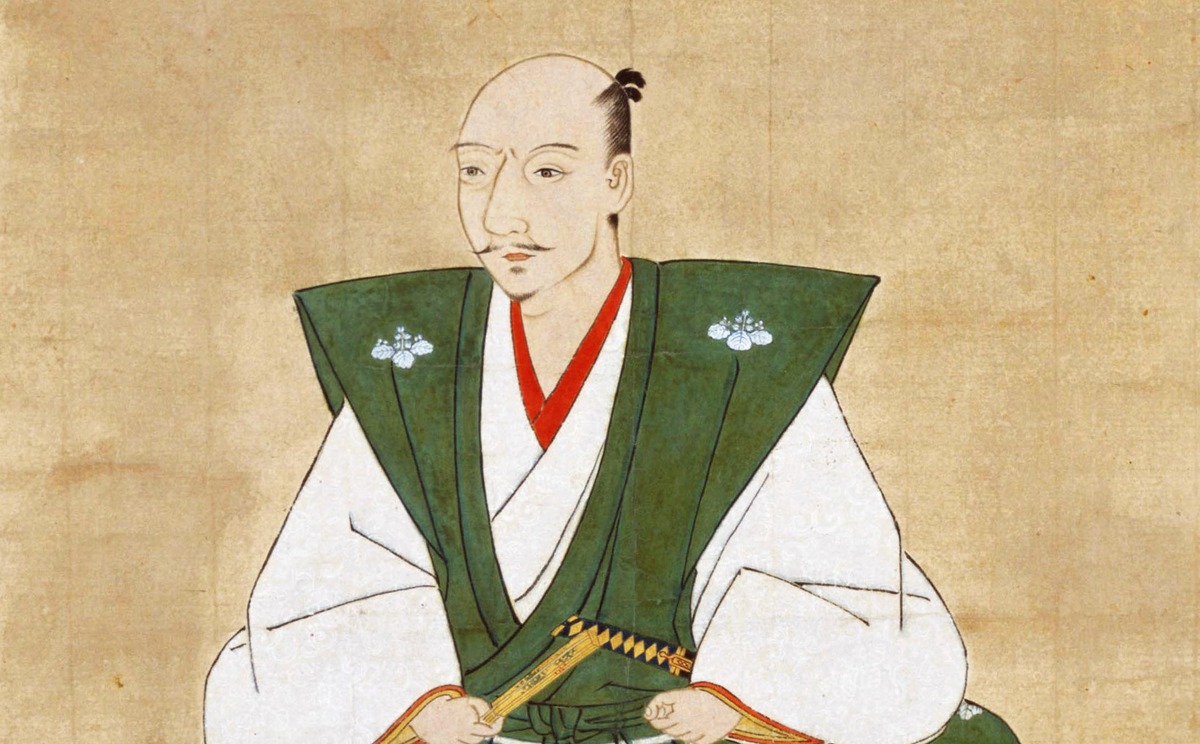
Oda Nobunaga – Japan’s Greatest Warlord Pt. 3
Welcome to part three of this overview of the life of Oda Nobunaga. I never intended for this to be a trilogy, but I guess I was naïve to think I could condense the life of Japan’s greatest warrior into just two articles. If his life were to be made into a movie trilogy, I have no doubt it’d be one of the most epic trilogies of all time! His Taiga drama was a little slow-paced at times, but when you have 48 episodes to fill, that can’t really be helped. Three 3-hour long movies could be the perfect length to tell this action-packed story. Anyway, before I dive any further into fantasies of movie production, let’s return to the overview.
When we last left off, Oda Nobunaga was being attacked from all sides. He’d made enemies of the Miyoshi, the Azai, the Asakura and Ishiyama Honganji. But due to the intervention of the emperor, things had calmed down a bit. In fact, they were even starting to turn around. In February of 1571, Sawayama Castle―south of Odani and Yokoyama castles in the province of Ōmi―waved the white flag. Having watched Yokoyama fall to the Oda army, the castle’s occupants put up very little of a fight. Slowly but surely, Nobunaga was beginning to shift the balance of power in Ōmi.
With renewed confidence, he led 50,000 men south to exact revenge upon Honganji’s Nagashima faction, who, if you’ll remember, was responsible for the death of his younger brother. Nagashima was more than prepared to deal with this vast number, however. Honganji’s followers set up an ambush along the path and quickly drove the massive army back to Ōmi. What the religious sect may have lacked in combat skills, it more than made up for in unity, passion and strategy.
The burning of Enryakuji
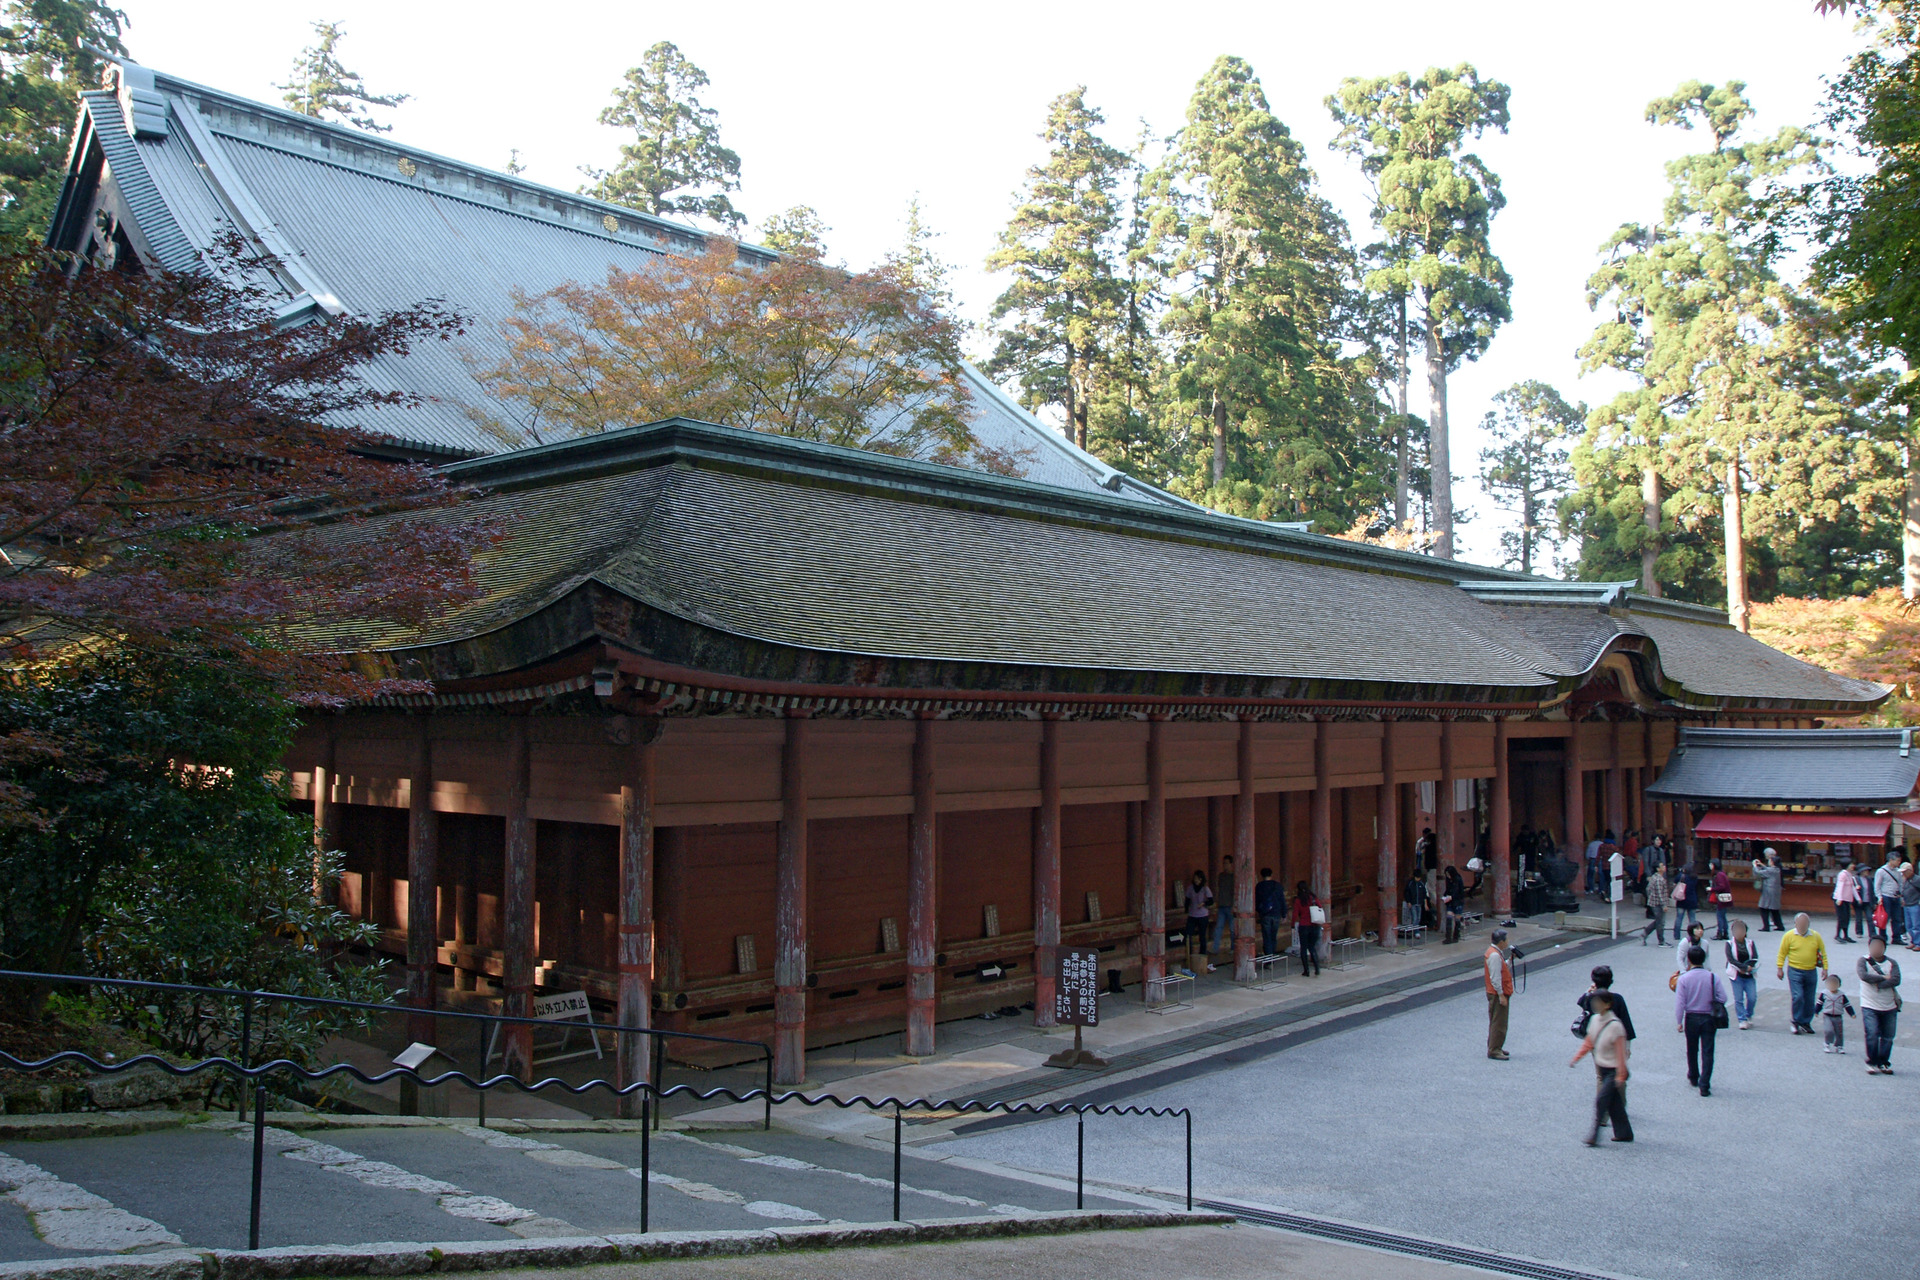
If Nagashima couldn’t be taken down, perhaps Enryakuji could. Nobunaga was out for Buddhist blood. It was no secret that the top monks of the temple had become corrupt, arranging secret rendezvous with women at the foot of the mountain, accepting bribes and consuming fish and bird meat. This combined with the fact they were hoarding his enemies gave Nobunaga the perfect excuse to attack. However, contrary to the tyrannical sociopathic image many Japanese hold of the great warrior, he was quite a reasonable man; Nobunaga rarely attacked without first giving his enemy an opportunity to surrender. In one notable case, he even extended the olive branch to an enemy who betrayed him twice! So he gave the monks a chance to repent, change their ways and agree to break off their connection with the Azai and Asakura. But, alas, they refused. So began the first of Nobunaga’s three infamous massacres.
Most historical sources agree that the Oda army killed around 3,000 people and burned down over half the complex’s buildings that day. However, modern-day historians argue that it is unlikely the army would have been able to massacre that large a number in such a short space of time―particularly given the fact that so many of the monks were living at the foot of the mountain rather than in the temple complex itself. Archaeological excavations of the site and studies of the temple’s various statues also suggest that most of the buildings date back to at least the 13th century, suggesting that Nobunaga’s attack wasn’t as devastating as people at the time wanted it made out to be.
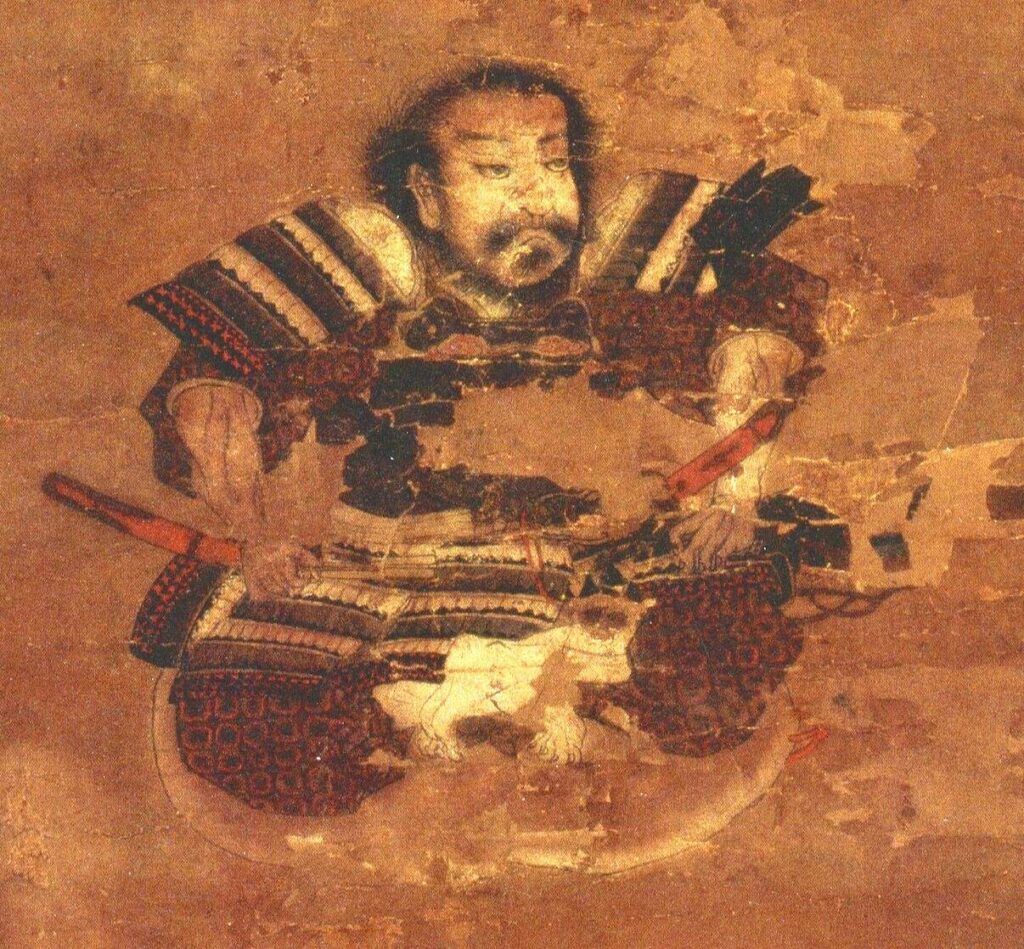
Takeda Shingen
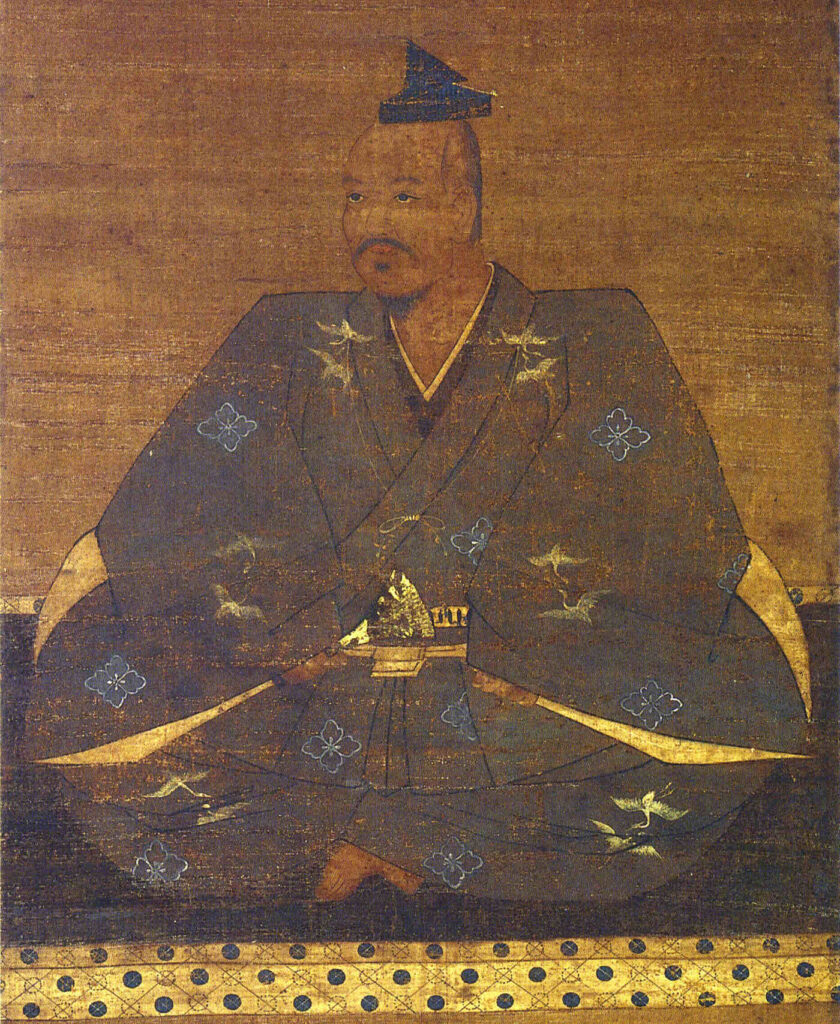
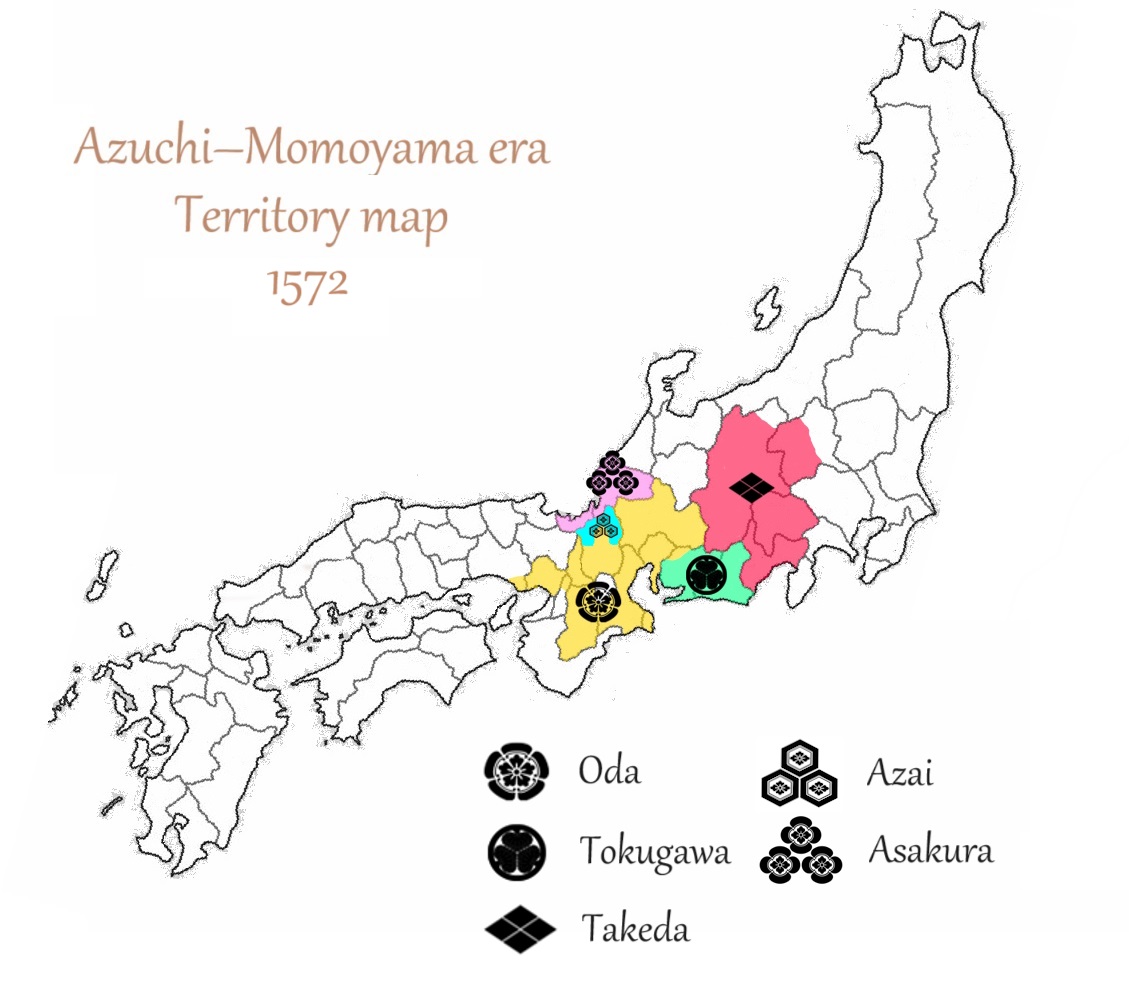
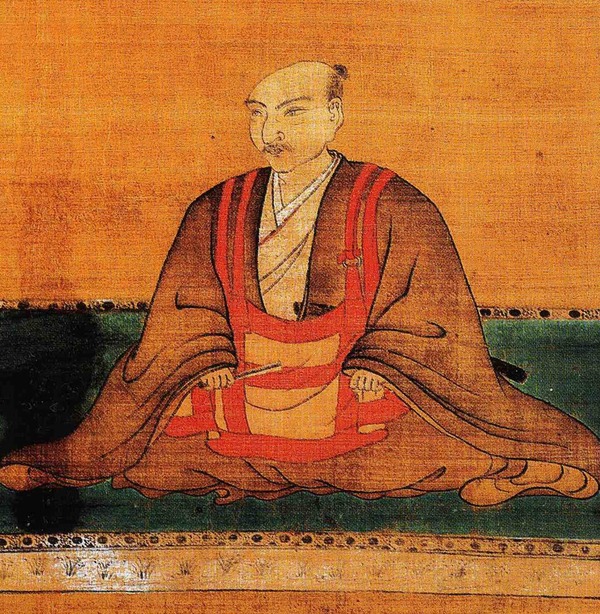
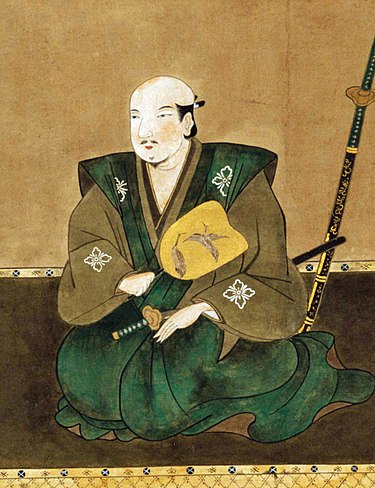
To sum up the situation in late 1571, Nobunaga was fending off the Miyoshi and Azai to the west, the Asakura to the north and Nagashima Honganji to the south. Let’s add an enemy to the east to seal him in: Takeda Shingen. It’s been a while since we’ve mentioned the Tiger of Kai. The last time he appeared was in the 1560s, when he forged an alliance with Oda Nobunaga. To sum up the legendary daimyō’s actions since that point, he betrayed the Imagawa in 1568 and teamed up with Tokugawa Ieyasu to invade their land. Within a year, he seized control of Suruga while Ieyasu scooped up Mikawa and Tōtōmi, forcing Imagawa Ujizane to flee and seek protection under his in-laws, the Hōjō. Now Shingen was setting his sights west. In late 1572, he began his campaign, breaking off his alliance with Ieyasu and attacking Tōtōmi’s eastern border.
Shingen and Yoshiaki
Naturally, this action also signalled the end of Shingen’s alliance with Oda Nobunaga. Unfortunately for our protagonist, though, after a great deal of deliberation, the shōgunate decided to back Shingen. Perhaps pressured by his council, Shōgun Ashikaga Yoshiaki sent word to the rest of Nobunaga’s enemies requesting that they cooperate with the Takeda army. Needless to say, Nobunaga didn’t take this news too well. He immediately marched to the capital and demanded Yoshiaki break off his pact with the Takeda. When Yoshiaki refused, he responded by having his army burn down the entire north side of Kyōto. Still Yoshiaki refused to back down. Eventually the emperor had to step in and force the two to make up before setting to work on rebuilding the capital(for probably the 5th time since the start of Sengoku).
Meanwhile, the Tokugawa army was struggling, the Takeda army having forced them all the way back to the very western border of Mikawa. Even Nobunaga’s reinforcements failed to make a difference as Ieyasu continued to suffer humiliation and defeat. Only a handful of castles stood between Takeda Shingen and Oda Nobunaga. It looked as if the shōgunate had picked the winning side. Fate had a different plan though: The infamous Takeda Shingen dropped dead without warning! So sudden and unexpected was this development that the Takeda army had no choice but to retreat back to their home province of Kai and call off the entire campaign.
The end of the Muromachi shōgunate
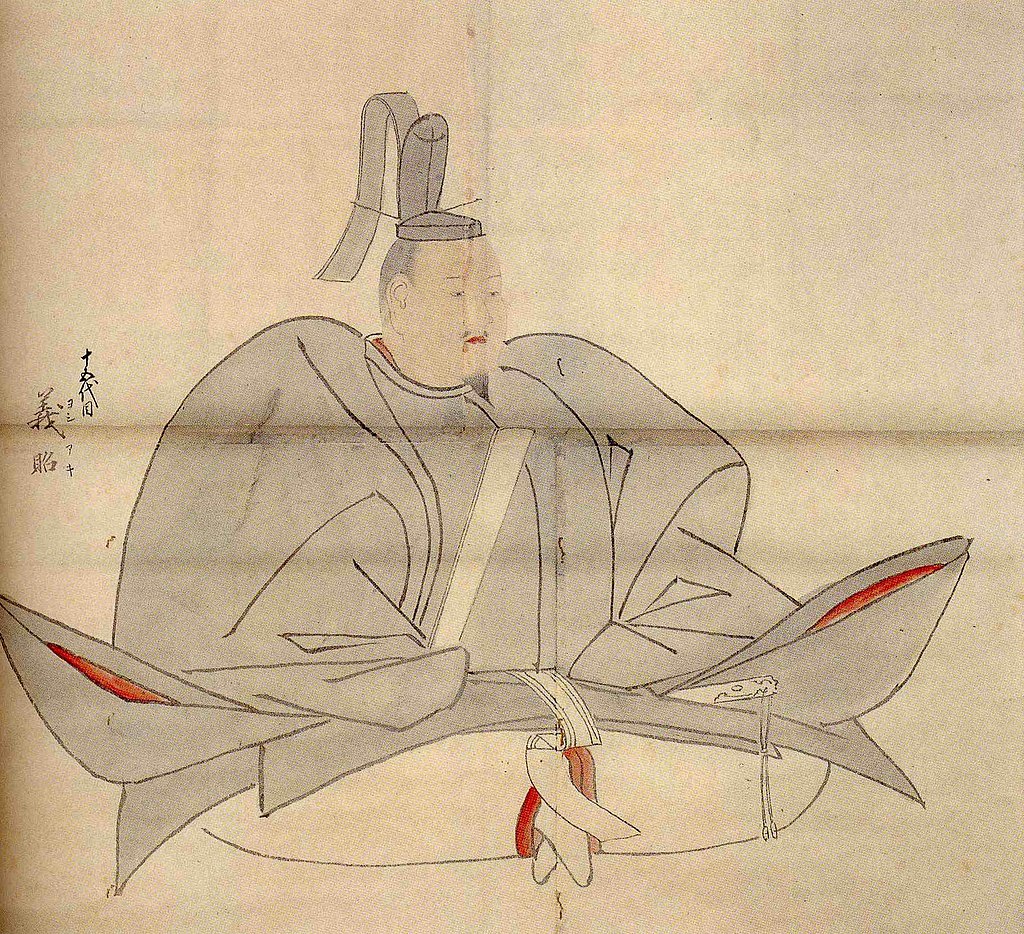
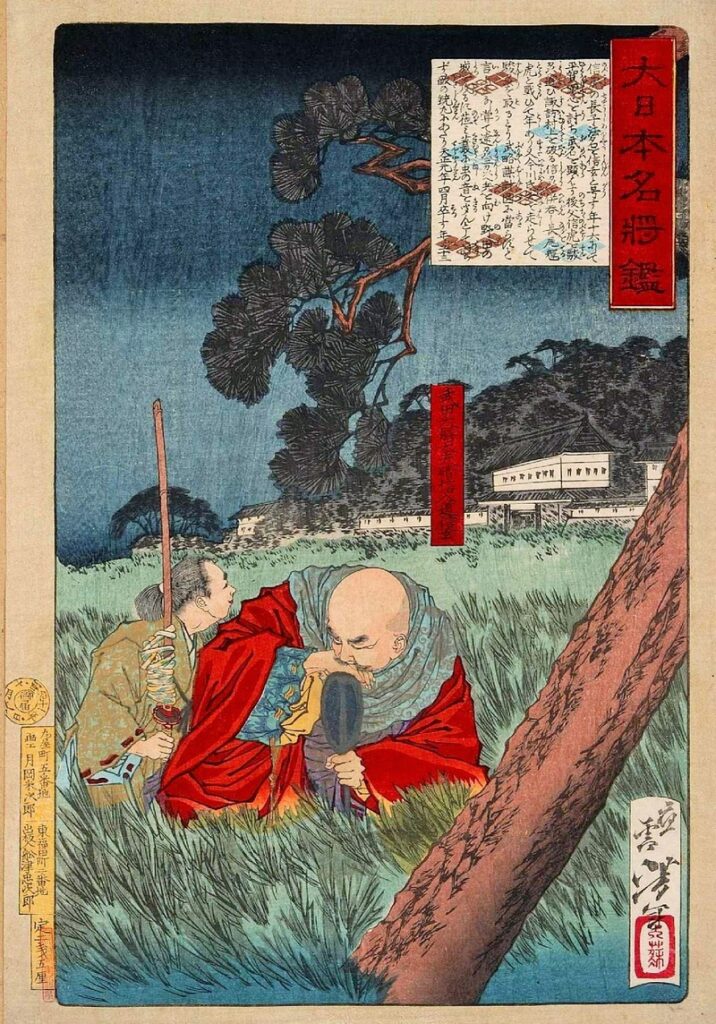
While Shingen’s death was fantastic news for Nobunaga, it was a devastating blow to Yoshiaki, whose relationship with Nobunaga was now beyond repair. Four years of having his power regulated to the point he was nothing more than a puppet had pushed the shōgun to his breaking point. With or without Shingen, he was determined to break free of Oda Nobunaga’s strings. In July of 1573, he fled the capital and barricaded himself in Makishima Castle to the south of Yamashiro province. From this new stronghold, he sent scouts all over the country to rally together a large enough army to replace Shingen’s. It was all too little too late though; Nobunaga sent his own army of 70,000 to force the shōgun out of his fortress and banish him from the capital, effectively ending the Muromachi shōgunate.
After fleeing the capital, Yoshiaki stayed briefly with Miyoshi Yoshitsugu, the head of the Miyoshi clan, who happened to be married to Yoshiaki’s sister. After that, he set out west to an area known as Tomo, where he became the guest of Mōri Terumoto, the largest and most powerful daimyō in the west―perhaps the only man left in the country who was strong enough to rival the unstoppable force that Oda Nobunaga had become.
The Azai/Asakura campaign
With Yoshiaki gone, Oda Nobunaga scooped up the shōgunate’s private army and placed it under the command of Akechi Mitsuhide. 1573 was proving to be a much better year than 1572. The good news didn’t stop there though: Atsuji Sadayuki, ruler of Yamamotoyama Castle, west of Odani Castle, suddenly decided to defect to Nobunaga’s side. With Yokoyama Castle to the south, Yamamotoyama Castle to the west and the Mino province to the east, only the north of Odani remained uncovered. That was good enough for Nobunaga; the time was ripe for attack.
The Oda army entered Azai territory and set up camp. Two days later, the Asakura army arrived to back up their allies. Nobunaga ordered his men to attack during the night. A battle ensued. Overpowered by the might of the Oda army, the Asakura escaped, fleeing back to Ichijōdani Castle in their home province of Echizen. The Oda army gave chase and continued the battle. Asakura Yoshikage fought well, but the betrayals of his cousin and a powerful local temple tipped the scales. Cornered, he had no choice but to kill himself. After hunting down and killing Yoshikage’s young successor, the Oda army returned to Odani to finish what they had started. With no one coming to help them, Odani Castle fell the following day. Nagamasa and his father killed themselves. The Oda army went on to capture and execute Nagamasa’s son, putting an end to the Azai.
Expanding an empire
His momentum maxed out, Nobunaga made a second attempt at taking down Nagashima. Once more, however, the sect’s followers forced him back home with his tail between his legs. And so he settled instead for Miyoshi Yoshitsugu, whom he had his men kill for hoarding Ashikaga Yoshiaki. By the end of the year, Oda Nobunaga had wiped out the majority of his enemies. Only Honganji and Takeda remained.
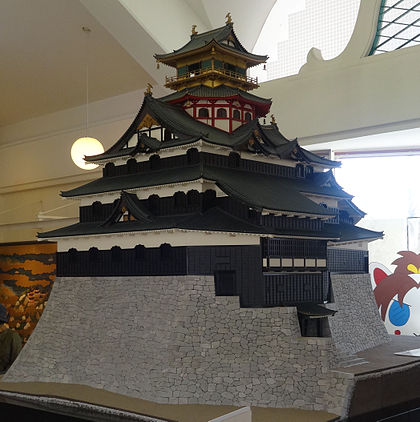
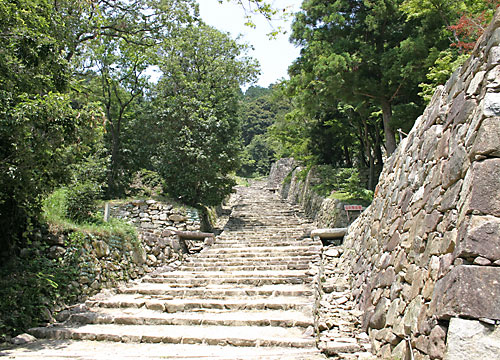
Once he had a little room to breathe, Nobunaga set to work dividing up his new territories. In Wakasa, he placed Niwa Nagahide, whose family had been loyal to the Oda for generations. In Echizen, he placed Shibata Katsuie. As for Ōmi, he stationed Kinoshita Tōkichirō in the north, Akechi Mitsuhide in the south and Oda Nobuzumi―son of his younger brother, Nobuyuki, whom he killed in part one of this overview―in the west. As for the east, he would eventually cover that himself with the biggest and most impressive castle he would build within his lifetime: Azuchi Castle.
Nagashima Honganji
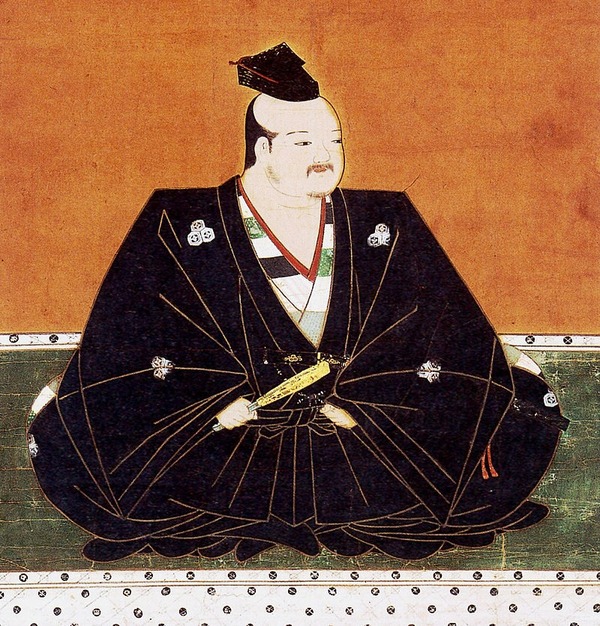
In 1574, Takeda, now led by Shingen’s fourth son, Katsuyori, took down a castle in the east of Mino. This sent a clear message to Nobunaga that even without the legendary Takeda Shingen at its helm, the Takeda ship was still in full sail. Nobunaga wasn’t worried though; he was far more concerned with putting an end to his feud with Nagashima. In July, with an army 100,000 strong led by his oldest son, Nobutada; his second son, Nobukatsu; Takigawa Kazumasu and naval expert Kuki Yoshitaka, he laid siege to Nagashima, closing off all escape routes both on land and at sea. Nagashima Honganji’s followers barricaded themselves in their castles and began rationing supplies, but one month later, food was becoming scarce. 1,000 or so followers tried to escape. Nobunaga ordered his men to shoot them down. In sharp contrast to his usual lenient personality, this time there would be no mercy.
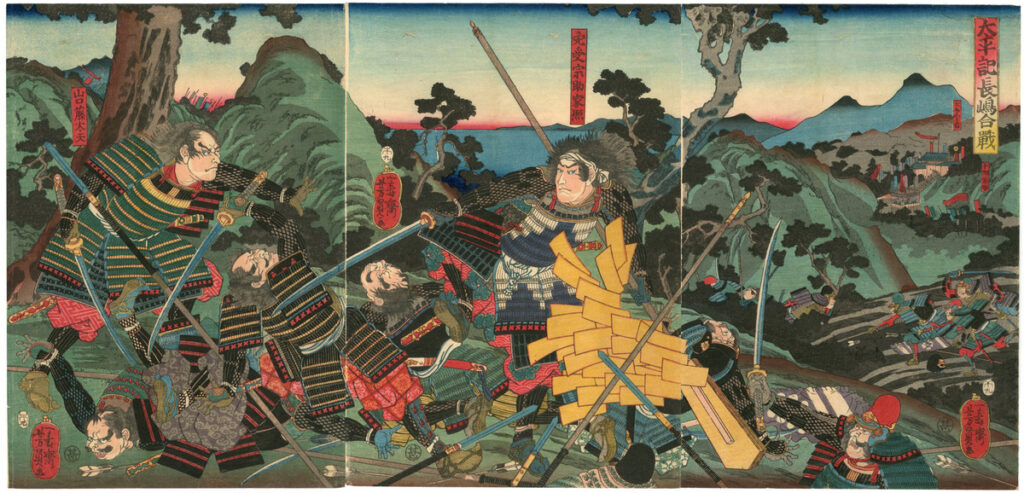
In September, Nagashima finally surrendered. Nobunaga agreed to let the surviving Honganji followers leave their castles and travel by boat to Ishiyama Honganji. However, as the boats set sail, the Oda army opened fire, gunning down its enemy by the hundreds. 800 or so men removed their clothes and jumped into the river carrying just their swords. With nothing left to lose, they swung wildly at Oda Nobunaga’s startled soldiers, who were unprepared for the attack. Many died, including Nobunaga’s older brother, Nobuhiro. But in the end, a handful of naked sword-swinging religious followers was no match for a trained infantry. When the last man fell, Nobunaga fenced off the sect’s remaining two castles and set them alight, burning 20,000 people alive. Needless to say, this constitutes the second of the warlord’s three infamous massacres.
The Battle of Nagashino
In 1575, Takeda Katsuyori made a bid to take back Nagashino, a castle that had defected to the Tokugawa. Ieyasu called Nobunaga for backup. Shortly after his ally arrived, the two armies met in an area known as Shitaragahara, located close to Nagashino Castle. They set up a series of fences along the foot of a hill, creating a makeshift fortress to protect themselves against the infamous Takeda cavalry. Once installed, they stationed riflemen along the perimeter and waited for Katsuyori to attack. Oda and Tokugawa stood 38,000 strong against the Takeda’s 15,000 men. The battle was over in a matter of hours. Three of the Takeda army’s strongest and most loyal generals died in the skirmish. This was the turning point in Oda Nobunaga and Tokugawa Ieyasu’s crusade against the Takeda.

Recognition from the court

In November of the same year, the court awarded Oda Nobunaga the titles of ukone no daishō(右近衛大将) and gon-dainagon(権大納言). The meanings of these titles aren’t so important, but what they represent is. Before establishing the Kamakura shōgunate, the court awarded Minamoto no Yoritomo these same titles. Since that time, virtually every shōgun of both the Kamakura and Muromachi shōgunates had held at least one of the titles. By awarding both to Nobunaga, the court was effectively stating that they viewed him as the country’s unofficial ruler. In short, they were giving him tacit consent to start something akin to a shōgunate. In order to focus on expanding his new empire, Nobunaga passed Mino and Owari his oldest son and tasked Niwa Nagahide with the design and construction of Azuchi Castle, which, when completed, he planned to make his new base of operations.
The Battle of Tennōji
In 1576, Nobunaga ordered Akechi Mitsuhide, Hosokawa Fujitaka, Araki Murashige and Ban Naomasa to attack Ishiyama Honganji. Having subdued the sect’s forces in Ise and Echizen, it was time to cut off the snake’s head. Little did Nobunaga know, however, that Honganji had teamed up with the Saika―a mercenary clan of rifle aficionados from the Kī province. When the rifle was first introduced to Japan in 1543, a priest from Kī brought a number of them back to his hometown and had them mass-manufactured to sell to small samurai clans around the area. Several towns began to practice the art of marksmanship in order to give them an edge over the stronger, more powerful daimyō who controlled the region. Members of these towns banded together under the clan name of ‘Saika’.
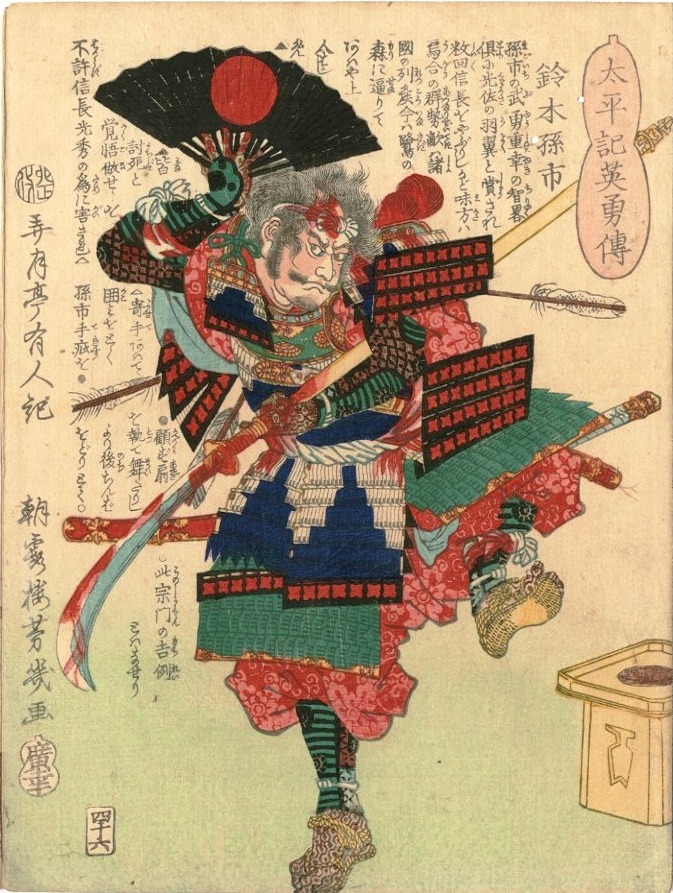
Faced with a mercenary army of rifle experts, Oda Nobunaga’s men had no choice but to flee the battlefield and take refuge in Tennōji fortress. The Saika gunned down Naomasa before he reached the area. With no time to waste, Nobunaga grabbed every available soldier he had and personally led his reinforcements to the battlefield, picking up as many extra men as he could find along the way. By the time he arrived, he had 3,000 soldiers to take on the Saika and Honganji forces. The battle was like nothing he’d ever faced before. As he galloped through the barrage of bullets, he took a shot to the leg, but still he powered on. Relentless as the enemy might have been, his small army prevailed. The Oda empire’s esteemed leader succeeded in driving off the enemy forces and rescuing his men.
Mōri and Uesugi
That wasn’t the last Nobunaga would see of Ishiyama Honganji though; shortly after suffering their defeat, the sect formed alliances with two powerful daimyō: Mōri Terumoto and Uesugi Kenshin. Being the most powerful daimyō in the country at the time in terms of territory, Terumoto likely held fears that at the rate Nobunaga was progressing, it would only be a few years before their territories clashed. It’s also possible he was spurred on by Ashikaga Yoshiaki, who still held dreams of vanquishing Nobunaga and returning to the capital. In Kenshin’s case, Shibata Katsuie was advancing north into Hokuriku. As Kenshin had plans to advance south into the neighbouring Ecchū and Koga provinces, he too knew that it would only be a matter of time before his and Nobunaga’s interests clashed.
In response to this development, Nobunaga sealed off all ports near Ishiyama Honganji and blocked off all river access, ensuring that the Mōri couldn’t deliver supplies to the temple complex. In July, Mōri led a navy consisting of over 800 ships to Kizugawa River and attacked the Oda fleet, firing flaming arrows and launching earthenware grenades. Nobunaga had no choice but to retreat, reopening the path to Honganji.
In 1577, Oda Nobunaga led his troops into Kī and forced the Saika to surrender. With Takeda weakened, the only remaining threat to the Oda army was Ishiyama Honganji. Since Nobunaga had men permanently stationed around their territory though, there wasn’t much the religious sect’s followers could do except ration their reserves and wait for support from their new allies. Speaking of their new allies, Nobunaga had finally decided to branch out north and west, moving in on both Mōri’s and Uesugi’s territories. With Katsuie already covering the north, Nobunaga sent Akechi Mitsuhide and Hashiba Hideyoshi(as Kinoshita Tōkichirō was now known) out west.
The Second Battle of Kizugawaguchi
In 1578, Mōri returned to Kizugawa with a fleet of 600 ships. Once more, the path to Honganji had been blocked off, and once more they intended to unblock it. This time, Nobunaga employed a very different strategy. He knew that even with a seasoned naval fleet such as Kuki Yoshitaka’s, he was no match for the might of the Mōri fleet, who, in addition to their own ships, had access to the mightier Kobayakawa and Murakami fleets. So he opted for quality over quantity; rather than lead several hundred small ships to battle, he constructed six giant iron-clad beasts, 80ft long and 40ft wide, and stationed them along the breadth of the river. They weren’t so much ships as they were river fortresses. Mōri never stood a chance. The iron-plated armour surrounding the ships rendered the enemy fleet’s explosive artillery useless. After losing around 2,000 men, Mōri retreated.
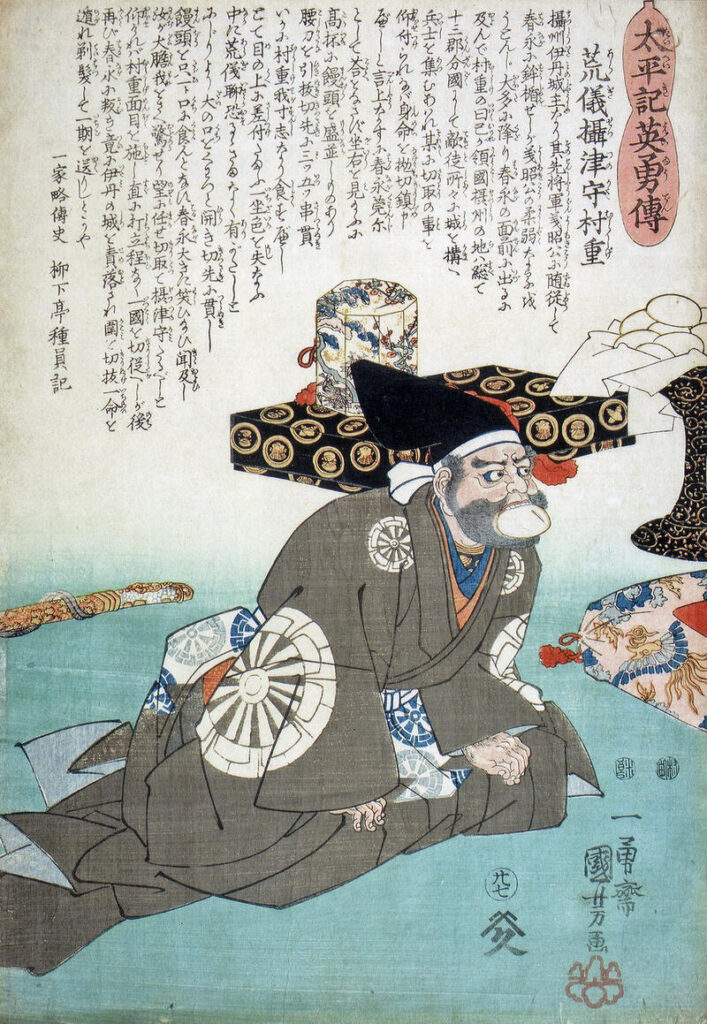
Nobunaga didn’t have long to celebrate his victory though; while he was busy destroying the Mōri fleet, Araki Murashige, lord of Arioka Castle in Settsu, defected to Honganji. The reason for his change of heart is unknown, although it’s theorised that either he was secretly supplying Honganji with food and weapons, or several of his retainers were supplying the temple and he became scared that if discovered, he would be made to take responsibility. Whatever the case, he refused several of Nobunaga’s kind offers to let him, his family and his men live should he call off the rebellion and return to the Oda side. Arioka Castle couldn’t be taken so easily though. Nobunaga was left with no choice but to lay siege to the area and wait for Murashige to surrender.
The Siege of Arioka Castle
1579 was a very good year. With the construction of Azuchi Castle finally complete, Oda Nobunaga moved into his impressive new home. Mitsuhide had succeeded in taking over Tanba and Tango, and Ukita Naoie, the most powerful daimyō affiliated with the Mōri, switched sides. This made it now virtually impossible for Mōri to deliver supplies to Honganji and Murashige.
After close to a year of being held up in Arioka Castle, food was growing scarce. Under normal circumstances, when a castle is being laid siege to and food and water have run out, the lord of the castle would surrender, taking his own life in exchange for the lives of his family and retainers. Murashige took a slightly different approach―one rarely seen throughout all of Sengoku. He escaped and fled to his son’s castle, leaving everyone else behind to face the consequences of his actions. Arioka castle fell soon after. Nobunaga showed no mercy. He decapitated, shot and burned alive 670 men, women and children as a warning to anyone else who dared to ally themselves with Honganji. This was the third and final of Nobunaga’s infamous massacres.
Things snowballed from there: Ōtomo Sōrin, one of the two most prominent daimyō in Kyūshū, agreed to become a part of the Oda empire. The Hōjō followed suit. Hideyoshi took Harima, and in April of 1580, perhaps scared of what they had seen happen at Arioka Castle, or perhaps having finally realised that there was no slowing down Oda Nobunaga’s momentum, Honganji surrendered. Their leader was allowed to leave and retire to Kī. Many of their followers stayed and fought a little longer before giving up later in the year. Ten years of fighting had finally come to an end. Only one enemy remained… Takeda.
The Kōshū Conquest
In 1581, The Oda army took back Takatenjin Castle from Takeda Katsuyori. This was a huge turning point in Oda Nobunaga’s campaign against his final enemy. The castle itself wasn’t so significant. What was significant was the fact that Katsuyori didn’t lift a finger to help his stranded men who were held up in the castle fighting for their lives. This act of indifference began to sway the minds of the many clans that made up the Takeda empire.
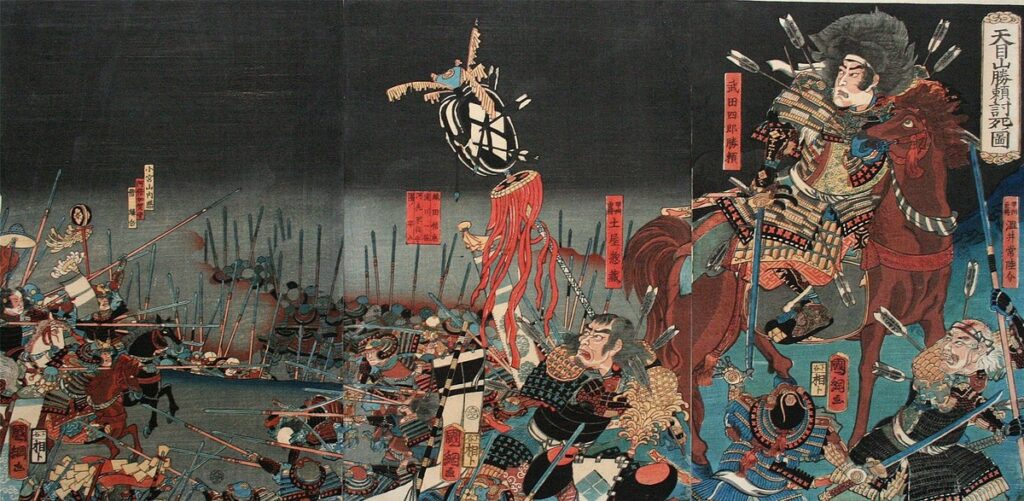
To make matters worse, rather than make any effort to retaliate in any form whatsoever, Katsuyori’s sole interest was the construction of his new castle, which he financed by heavily taxing the already struggling people of his land. The young ruler was quickly losing support. In February of 1582, Kiso Yoshimasa, a minor daimyō in the south of Shinano, defected. Not only was his land situated directly to the east of Mino, allowing the Oda army a clear path into Katsuyori’s territory, but the fact that Yoshimasa was Katsuyori’s brother-in-law sent a powerful message to all others who were considering mutiny.
Nobunaga wasted no time. He immediately ordered Ieyasu to advance from the south, the Hōjō to advance from the east, and Nobutada to advance from the west. As the three armies systematically took down the Takeda clan’s castles, more and more samurai of all statuses began to switch sides. Upon discovering that Oyamada Nobushige, his final lifeline, had defected, Katsuyori had nowhere left to run. He led his wife and his few remaining men up Mount Tenmoku, where he made his last stand. Overpowered by the advancing Oda army, Katsuyori retreated to the back of the mountain and killed himself. The legendary Takeda empire had fallen.
Ruler of Japan
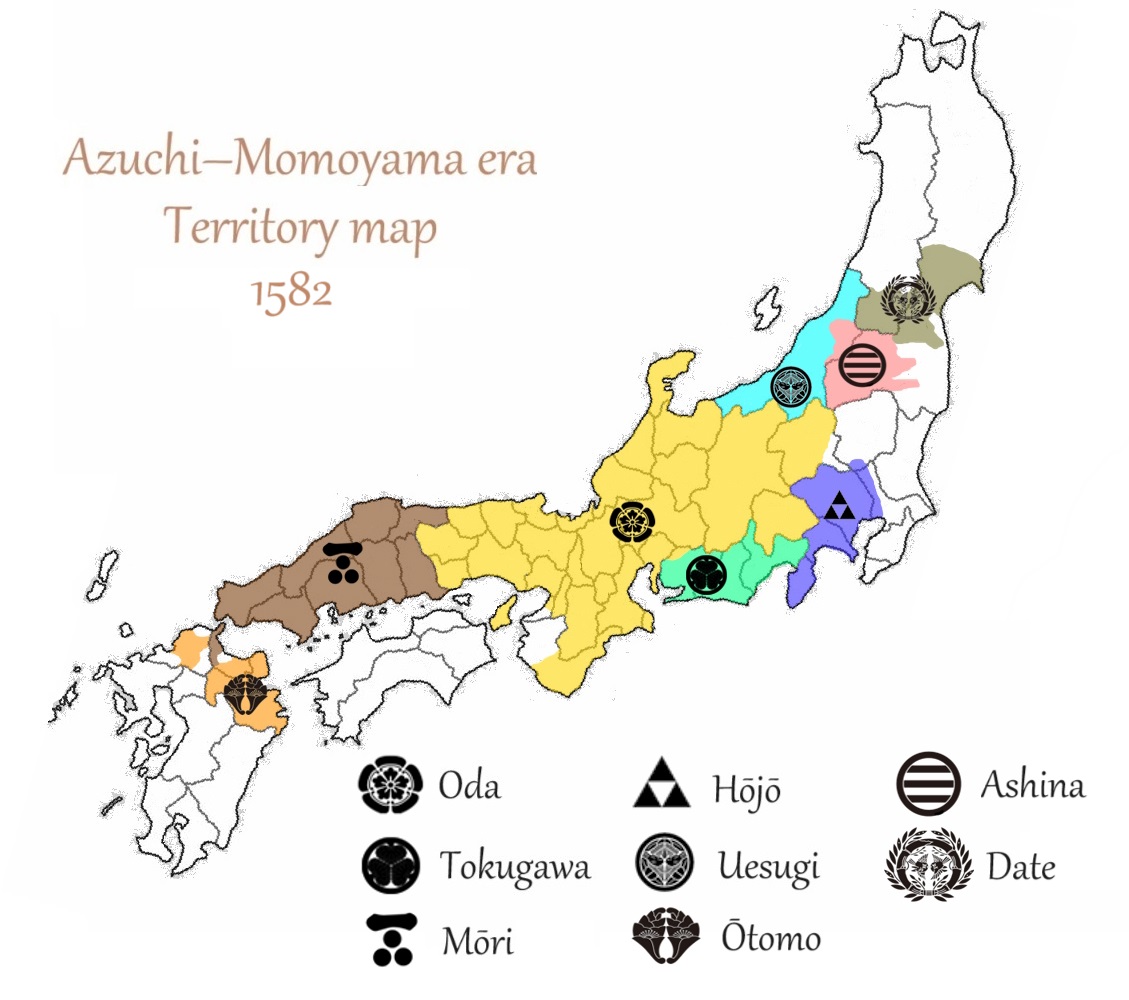
When the dust had settled, Nobunaga set to work dividing up his new land among his retainers. He gave Ieyasu control of Suruga, allowing his biggest ally to expand out east. Inspired by Nobunaga’s work, The Date and the Ashina, two major powers in the north of the country, signed up to the Oda team. Mōri and Uesugi were on the verge of surrender. Nobunaga was just a few small steps away from having complete control over the entire country. In recognition of his work, the court debated over which title would be most fitting for their new ruler: kanpaku―the emperor’s right-hand man, dajōdaijin―undisputed control over the court, or sei-i-taishōgun―absolute command of all samurai in the country and the right to start a shōgunate. Yes… Oda Nobunaga was on the verge of becoming the shōgun! But everything was about to change.
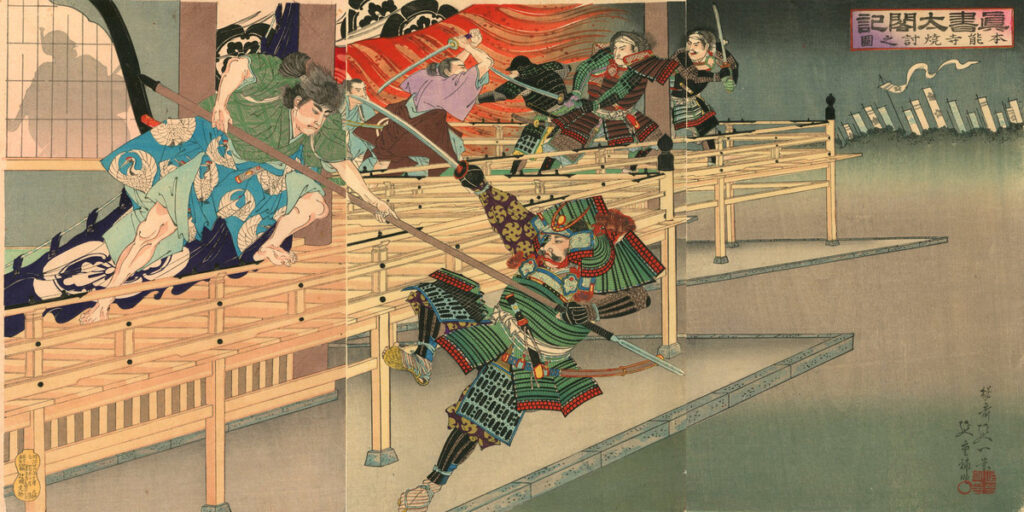
The Honnōji incident
In May, word reached Azuchi Castle that Hideyoshi was struggling with the Mōri situation. Oda Nobunaga decided to personally travel out west and aid his top retainer. As he couldn’t leave immediately, though, he sent Akechi Mitsuhide out ahead in his place. On May 29, accompanied by no more than fifty maids, attendants, and guards, Nobunaga reached Honnōji, a temple on the outskirts of Kyōto.
At 4 a.m., Nobunaga was awoken by a deafening noise and a blinding light. Akechi Mitsuhide had surrounded Honnōji with an army of 13,000. The temple went up in flames. Before Nobunaga could even figure out who the vast army belonged to, soldiers had already infiltrated the temple grounds. After ordering his men to escort the women and children to safety, he picked up a bow and arrow and began his counter-attack, fighting bravely and taking out as many enemy soldiers as he could before suffering a spear to his elbow. Unable to continue the fight, he retreated to the very back area of the complex and slid the fusuma door shut, never to be seen again.
Once the fire died down, Mitsuhide ordered his men to search for his former master’s remains, but there were so many charred bones scattered across the ashes and scorched wood, it would prove an impossible task. Bones or no bones though, Mitsuhide had defeated the most powerful Japanese warlord of all time. Why did he do it though? Along with questions the likes of ‘Where is Yamataikoku?’ and ‘Who killed Sakamoto Ryōma?’, it is perhaps one of the greatest mysteries of Japanese history.
Conclusion
And so ends the epic trilogy. But Oda Nobunaga is too famous not to be appearing in other articles I intend to write. Long as this summary of his life has been, I only managed to focus on the military aspect of Oda Nobunaga’s career. I didn’t even get to touch on his family, friends, hobbies and non-military achievements. Eventually, I’ll write about Honnōji and go into more detail about the many theories regarding Mitsuhide’s decision to assassinate his master. For those of you who want to find out what happened after his death, have a read of the Azuchi-Momoyama section of my overview of Japanese history. For all of you who read through to the end, as a parting gift, I offer you this map of Oda Nobunaga’s main castles and the locations of his most famous battles. Enjoy!